
Page speed is a massive SEO ranking factor. One of the biggest culprits of a slow website is unoptimized images. If you are regularly downloading high-resolution files from the best free stock photo sites, you absolutely must compress them before uploading them to your server.
Why You Need to Compress Images
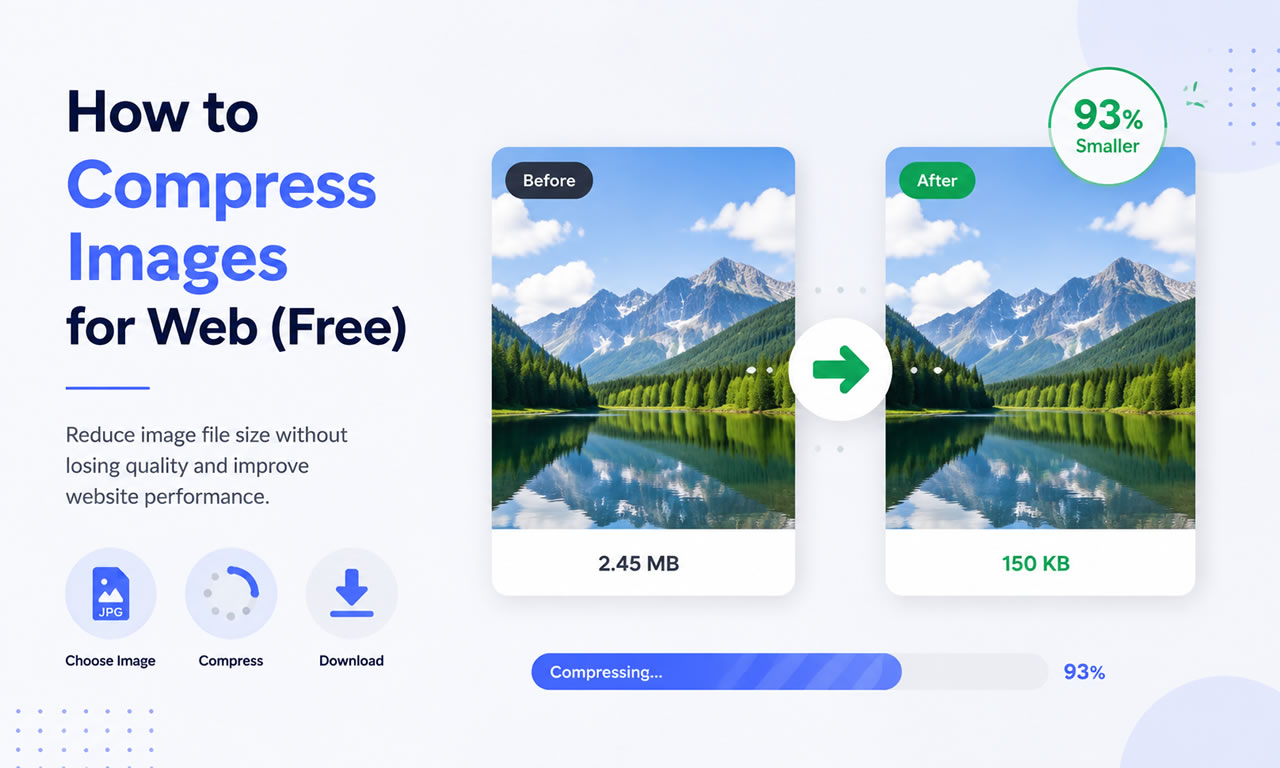
Large image files (anything over 300KB) consume your hosting bandwidth, slow down page rendering, and frustrate mobile users on cellular networks. By compressing images using smart algorithms, you can reduce file sizes by up to 80% with zero visible loss in quality.
Top Free Image Compression Tools
1. TinyPNG / TinyJPG
Don't let the name fool you; this browser-based tool supports WebP and PNG/JPEG formats. TinyPNG uses smart lossy compression techniques to reduce the number of colors in the image, meaning fewer bytes are required to store the data. The effect is nearly invisible, but it makes a huge difference in file size.
2. Squoosh by Google
Squoosh is a free, powerful web app created by Google. It allows you to dive deep into advanced compression settings. You get a real-time slider to compare the original image with the compressed version side-by-side, ensuring you never sacrifice visual quality while trying to hit specific file size targets.
3. Kraken.io (Free Web Interface)
Kraken offers a robust free web interface that allows you to optimize photos in bulk. You can choose between "Lossless" (no quality change at all) and "Lossy" (massive size reduction with minor quality tweaks). It’s highly reliable and very fast.
4. ImageOptim (For Mac Users)
If you prefer a desktop app and use a Mac, ImageOptim is an essential free tool. You simply drag and drop folders of images into the app, and it automatically strips out unnecessary metadata (like GPS coordinates and camera models) and applies lossless compression.
Step-by-Step Compression Workflow for Webmasters
- Resize First: Never upload a 4000px wide image if your website container is only 1200px wide. Resize the physical dimensions first.
- Run the Compression: Drag the resized image into TinyPNG or Squoosh.
- Use Next-Gen Formats: Convert your standard JPEGs to WebP format, which provides superior compression for modern browsers.
- Upload: Upload the optimized file to your WordPress media library and enjoy the speed boost!
